Installing the Suspension
Upgrade
by Hank Barta
As of January, 2002 Elsie is all
mine. I decided that it was time to upgrade the suspension. At 54K miles,
the factory shocks had done their job and by most accounts, were no longer providing
good damping. I decided that instead of replacing them with something that matched
factory performance, I would up the ante. I studied the various options available
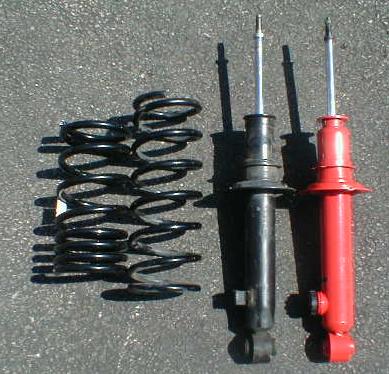
and decided on the Flyin Miata (FM) package that included KYB AGX shocks, FM
springs, front and rear FM sway bars and the FM shock tower brace. My concern
was that the package be balanced - that the performance of all of the parts
would match. FM has a good reputation in the market so I hoped that their package
would be well matched.
The installation
There is a lot of good information
on Miata.net so I won't bother repeating that here. I chose the 'split at the
ball joint' method and will only add that whoever pushes down on the upper A-arm
should wear leather gloves. I sliced open my palm on a sharp burr before I figured
this out. :-(
My main contribution to the shared
body of knowledge is what to do regarding bump stops and boots. With the lowered
springs, the bump stops need to be modified to retain clearance and reasonable
suspension travel. There is some very detailed information on this at
Jyri Virkki's site. I more or less followed the guidelines provided by FM
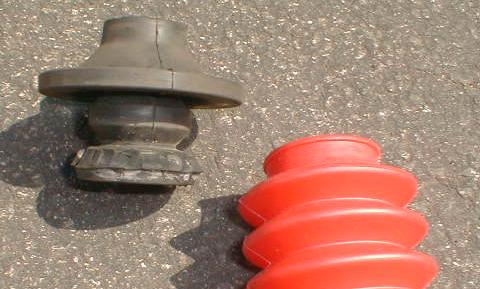
and provided modifications to install aftermarket shock boots. I used red boots
from Summit Racing, part number RAN-RS1927. The boots cost $6.95US. Since the
existing boots were deteriorated to the point of splitting when I pulled them
off, I thought these were worth a try. Factory boots cost about $20, and they
include new bump stops that I would wind up cutting up anyway.
|
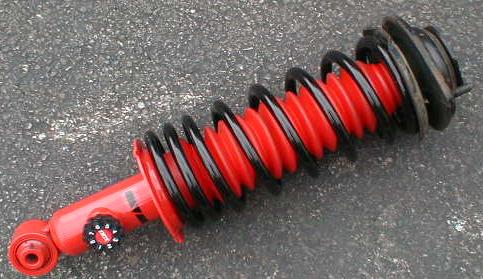
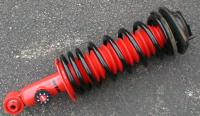
The replacement boot itself
was longer than the stock boot. The shock had a collar on which a boot
could be fastened. This can be seen in the picture above about an inch
from the spring support. Since the boot was longer, I simply slipped the
boot over this ring. The whole assembly looks pretty attractive. I'm afraid
that the images don't really do it justice. ;)
|
 |
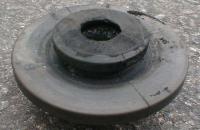  |
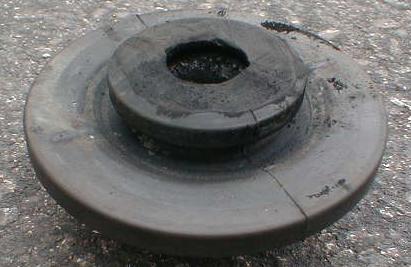
The rear bump stop required
additional modification. FM recommended that the 'middle donut' be removed.
They also said that the boot could be left on or removed as desired. In
fact, the top of the boot also includes part of the bump stop as can be
seen on the cut away portion of the front bump stops. I needed to reduce
the height but still leave something to hold the boot. I hacked off the
boot+bumper leaving the donut (that should be removed according to FM.)
To reduce the effective height, I took a die grinder with a small sanding
drum and ground away at the inside of the donut, tapering it out to the
outer edge. That reduced the stack height beyond the reduction realized
by removing the boot and its attached bumper. That still left the outside
of the donut over which I slid the boot.
|
 |
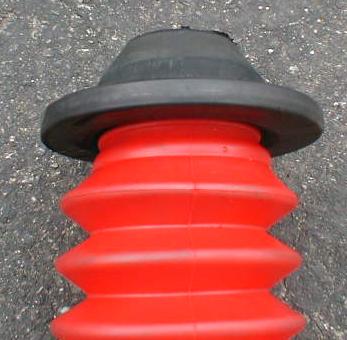
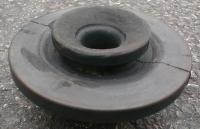
The rear bump stop showing
the boot installed. Again, getting this on required using a liquid dish
detergent and a bit of muscle. The top of the boot slipped into the groove
above donut and appears pretty secure.
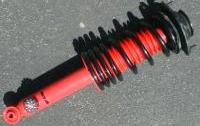
On the rear assembly I slipped
the boot over the boot flange on the rear shock as I had done on the front.
|
 |
 |
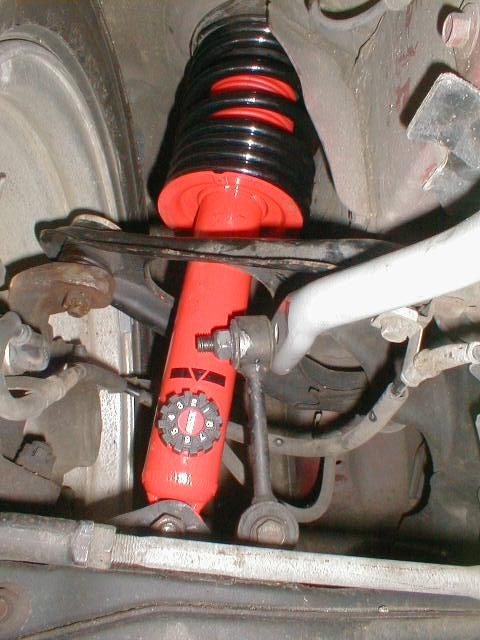
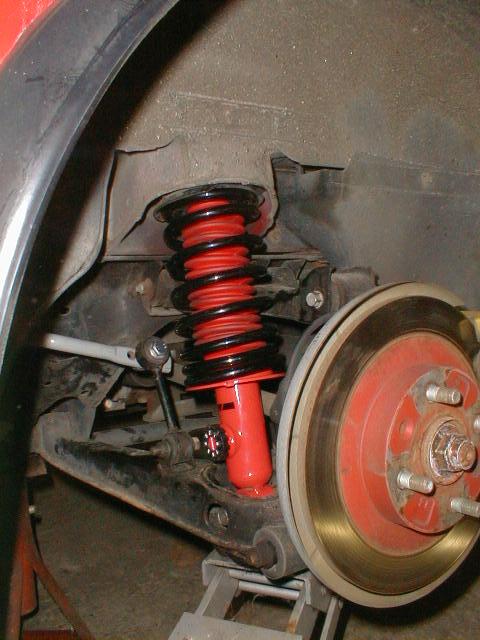
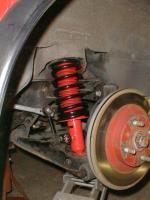
This is the final result.
Too bad these black and red babies are hidden behind the wheels. You can
also see the ends of the sway bars in these pictures.
|
 |
The results
I installed this in stages because
I was waiting for the spring compressor that was back ordered from Harbor Freight.
The shock tower brace went in first. I don't know if I can really tell the difference.
The next part was the sway bars. They really flattened the car in the curves.
They added a little harshness otherwise due to the coupling of both sides of
the car. Overall, I believe that the sway bars would be a worthwhile upgrade
by themselves if you wanted to reduce body roll. Then I added the springs and
shocks. They lowered the car and really firmed up the suspension. At present
I have the shocks set to 3 all around. I haven't really spent any time fooling
around with different settings. I've done some around town driving and one 200
mile club tour. The ride "sure is firm" but not something I find objectionable.
I haven't tried it on the autocross course, so I don't really know if the handling
is improved. Yet. We have an event scheduled shortly. :) :) :)
Thanks!
As with all other projects I've completed
on our Elsie, I researched this through Miata.net, the Miata Forum, and the
Web before I struck out on my own. My success in these endeavors is largely
a result of what others have tried before me and taken the time to write about
so others like myself may benefit. I am grateful to those who have contributed
to our body of Miata knowledge and hope that my web pages add their own small
contribution.
Copyright 2002 all rights reserved