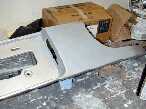
The fasteners that hold on the trunk latch cover are easy to remove. Just lift the center sections and then remove the whole piece. |
Once you have all the fasteners removed the cover will lift away easily. |
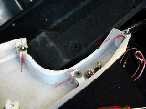
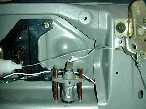
Red arrows indicate fasteners for the rear lamp assembly and the green arrow shows one of the rear panel fasteners. |

On the passenger side there is a plastic nut holding on the battery cover as well. |
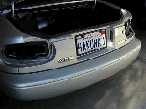
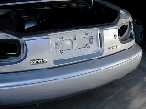
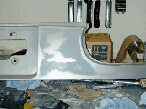
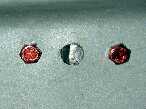
Once you get the lamps pulled you need to remove the rear license plate. Notice the badges and the hole for the trunk key. |
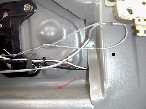
There are a couple of more screws under the plate. Inside there are four nuts and two push fasteners. |
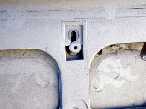
When you get the nuts off and pull the fasteners free then remember to slide the whole panel upward to clear this clip. |
Now you can easily slide off the bolts and the plastic fasteners. |
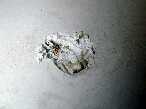
For the Miata badge I just grabbed a spool of hookup wire and put it under the edge. |
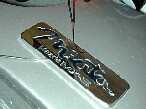
Working it back and forth it cuts through the foam tape easily. |
Badge off! That's the easy part. Now getting rid of the foam
tape/residue...uggghh! |
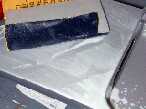
If you get some of this decal remover life is much easier. Just soak it for 15 minutes and scrape off. I had to do it a couple of times... |
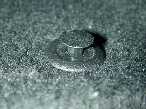
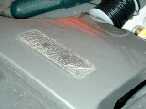
The Mazda badge is not glued on. There are two studs that come out and are melted off inside. |
Hit it with the Dremel tool. |
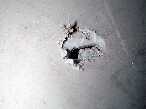
Then it will pop free. |
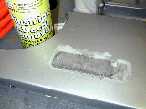
At one time I though about removing the badges without a repaint. Glad I didn't try. It would have been impossible to clean up sufficiently. |
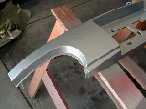
After degreasing I nicked up the keyhole and then sanded with 80 grit. |
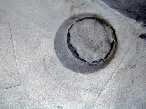
I made an epoxy putty plug for a base to hold the filler. Keep it rough, you want the bondo to be able to grab. |
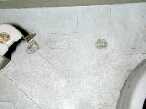
Sand and fill. Sand and fill. |
I shot it with gray primer and then sanded and filled again, and again. |
Use a wet sand technique. |
This is the typical pattern you have when things are getting pretty flat. |
For details on a two stage paint job see the Spoiler, RB Type II Nose, and Sidesill sections. |
Looking good with 3 coats of clear over the silver basecoat. |
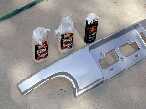
First wet sand with 2000 grit to get out any orange peel. Follow with Meguiar's Fine Cut, followed by Swirl Remover, followed by 3M Hand Glaze. |
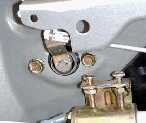
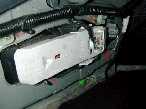
Ok, you are probably thinking how dumb I am to trust my trunk pop solenoid! Well I HAVE a plan! Unbolt the existing lock mechanism. |
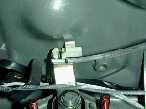
Here it is. I lubed it and taped it to keep out junk. |
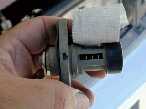
For details on the solenoid, see that section. The arrow shows where the lock will go. I bent the bar to fit. |
From the top you can see I bent it backward as well. |

Set the lock in place and mark the cylinder. |
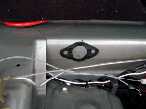
Use the gasket to find the location for the bolts. |
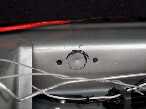
Center punch and drill. I only drilled the center large enough to put my key through. I'm keeping the entire mechanism INSIDE the trunk. |
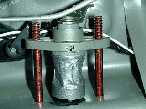
Get some long bolts and fix it in place. |
Mark and cut the latch bar. |
Bend the tip and hook it all back up. |
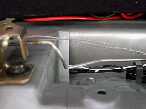
Here is it from underneath the car. CHECK IT before you put the taillamp assemblies back in and close the trunk!!! For extra security you nut the bolts inside and tack weld the nut to the bolt. That way no one can unbolt from underneath and fish your trunk open. |
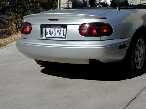
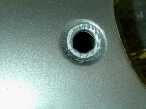
Oh yeah...I like that look. My wife always said the keyhole looked like a blemish on the rear. |
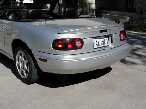
Clean, clean, clean. Whaddya think? |
