|
|
|
|
|
|
| Return Home |
|
Stereo/Subwoofer Install |
|
|
|
|
|
|
| Return Home |
|
Stereo/Subwoofer Install |
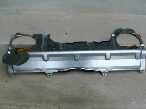
 This is a list of the components of the original install. |
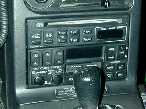
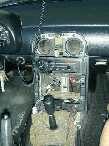 The SOURCE area! Remove the center console then the eyeball vents then the center dash. |
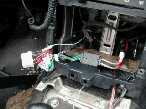 Vampire T-taps work great for temporary work.. Soldering is better. I went to dual monster RCAs when I got the mp3 headunit. |
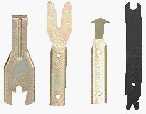 Here's some trim tools that were only $5.00 at Harbor Freight. |
 Remove the plastic plugs that hold down the carpet. You can do this with a screwdriver, but the Harbor Freight tools work better. |
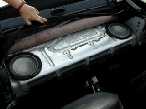
 This is the parcel deck. You can just tuck the carpet back while you work. |
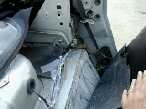
 Pulling away the lower carpet shows all 14 bolts. But you'll still need to do a bit more first. |
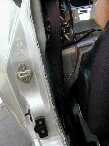
 Removing the seatbelt cover trim is necessary. The sill plates will have to come off first! |
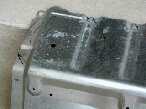
 The deck is NOT a flat surface and will require work to get a good seal, VERY necessary for sound. |
 Door speaker panels pull off on my '91. Later models you have to remove the door panel...get a tool to pop them free. Removing the strip allows the kickpanel to be freed. |
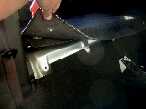
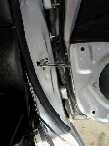
 Pull back the boot and then pull out the plastic grommet or just leave it all in place and fish with a coathanger. |
 Feeding the 16ga speaker wire into the doors. I used cord pulls here, put in with a coathanger. There's NOT much room going through the grommet. |
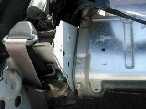
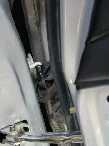
 Hey! There are wire tubes already under the carpet...just look under the sill plates! Mine are empty, but on a 94+ you'll find they aren't! |
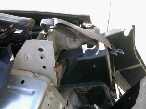
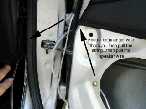
 Up under the parcel deck into the side tunnel. Use split loom tubing where the deck touches the wire |
 Drivers side wiring into the parcel area. Use split tubing here too. |
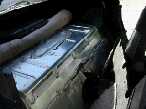
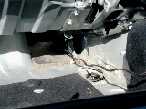 Coming into the trunk via the side tunnels. |
 Whoa! That will be tight! NO way you can squeeze more than 8"'s in here unless you build a raised enclosure. |
 Mark the cutout area. |
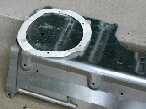 Check it with a template. |
 Quadruple check it!!!! |
 There are several ways to cut it. Use a jigsaw with a metal bit or cutoff disks in a dremel/die grinder or a nibbler. |
 Swiss cheese! The edges are SHARP. Be CAREFUL. |
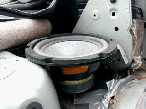
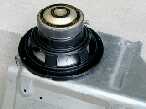
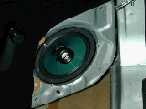
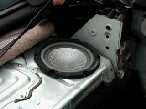 Fits nice! Make sure you use heavy weatherstripping or silicone between the deck and the speaker. Use BOLTS AND NUTS with a lockwasher. |
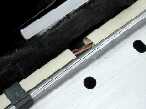
 Yee-hah! 8 inchers in the deck! I used 1/2 inch foam weatherstripping to seal the deck to the body. Note the plastic split loom where the interconnect wire goes under the panel. |
 Cut away the padding...use chalk to mark the rubber mat for cutting. Watch your tools around those cones...they aren't THAT tough. |
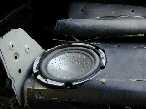 Rubber mat cut away. I didn't use a grill or anything...the carpet doesn't buzz. You can install grilles easily of course. In my new install I've replaced the deck carpet with speaker box carpet...breathes better. |
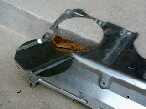
 Kappas in the door. USE the XTC waterproof speaker baffles. During heavy rain it gets WET in there! Note that the lower screws are longer and use washer AROUND the speaker to hold it. The top screw is drilled into a new hole. |
 Total stealth install! Nothing shows! Carpet over the subs and original grilles over the speakers. This install sounds GREAT! Good solid bass to crystal highs. At 135mph...uhh...65mph with the top down you still get solid bass. (Wow that picture looks old to me now!) |
|
|
