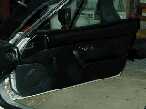
This is a door. It's really a piece of cake to work on. Now that I've done it, I think could do both
door lock setups in less than an hour. |
Use a towel or clean rag to work the clip out that holds the handle. Then pull the handle straight off. You can put the clip back on and when you want to replace it just push the handle on with the clip already in place. |
Early models like my '91 have an armrest. Remove the cover and the screw. There are two more below the armrest. |
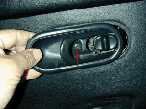
One screw holds the door pull plates...slide them off. |
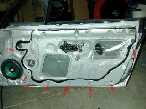
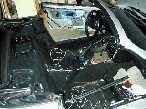
Just reach under the door panel and gently pull away. You can see where the 'pops' are in this photo. Then just lift straight up to unhook the top edge. Very simple. |
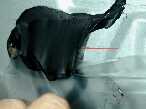
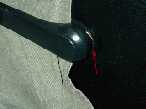
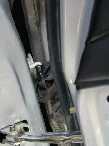
You'll have to pull back the rain shield. You want to reuse the sealant so carefully pull it away. I used my finger to push in the direction of the arrow. |
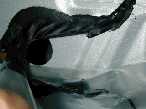
Here you can see it knocked back as I continue to pull the shield
away. This stuff is STICKY. I mean it. You won't believe it till
you get it on you...and everything else! |
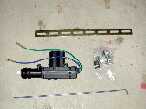
I got the door lock actuators for $7.95 each and the trunk pop kit for $15.00. I bought them from
M&S originally. I don't think you can beat that price! Thanks! |

Mount the actuator to the strap with the two longer screws included. Don't mess with the adjustments on the actuator...they seem to work well at the factory settings. |
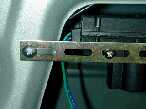
Drill pilot holes for the sheet metal screws. You want the actuator high up and PARALLEL with the
door lock rod above. This is important! |
Here is a shot of both ends. You want the actuator itself moved
toward the front (of the car). The other end needs clearance to
move back and forth. |
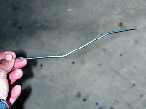
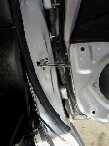
This is the rod from the side. Notice how it bends up and then straight again. |
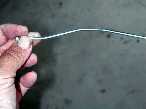
Here is the rod from above. Notice how it bends outward and then it goes straight again. You'll have to bend and experiment, but it's pretty easy. Use a vise or
vise grips for the bending. |
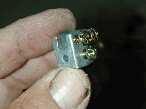
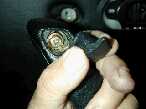
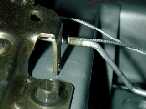
This connects the actuator rod to the door lock OEM rod. The top groove is for the OEM rod. |

Here you see it. OEM on top, actuator rod on the bottom. Cool huh?
Well...sorta... |
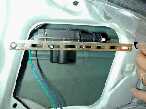
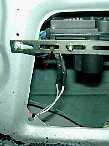
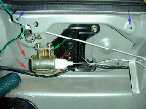
Here you can see the whole rod setup. Actuator to the far left...rod comes through the rain shield and up to the attachment point. |
Use cable ties and cut off the bullet connectors so you can solder the connections. |
Remove the speaker and then the trim to pull off the kickpanel. |
Pull back the boot and then pull out the plastic grommet. |
Okay I admit it. This pic and the last two I stole off my stereo install. But it's the same job! ;-) |
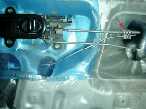
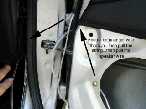
Trunk pop kit is $15. Simple as it gets. Remove the rear cover by pulling the *centers* of the trim fasteners. Those are plugged into the holes indicated by the blue arrows (7 of them actually). The green arrow shows where you undo the nut and attach the solenoid bracket...you have to drill out the bracket hole a tad. The red arrows show the power connections. |
There are a number of ways to attach the solenoid cable to the trunk release rod, but I used the old R/C modellers technique. Wrap the cable and rod with carpet thread or twine or surgical suture and soak with superglue or epoxy. It'll hold! |
Hakuna looks like this fairly often! I suppose SOMEDAY I'll run out of mods.... ;-) |
