
by Sean Johnson
The original Miata.net pulley repair article is basically aimed
at the earlier Miatas, pre '92. If you happen to have a '92 or later, you aren't
immune to the crank problem. The long nose engines can have a slightly different
problem, and the crank nose doesn't break off. On the post 91 cars, if the crank
bolt threads are not cleaned during timing belt replacement, and the threads
coated with Loctite for lubrication/retention, the clamp load you get at 122
ft-lb won't be enough to hold the big accessory pulley in place. The large accessory
belt pulley will eventually begin to wobble. That's a lot of mass wobbling around,
and it wears out the pulley hub, hub keyway, and keyway in the crankshaft. The
key eventually breaks. Timing is lost. Hopefully you can follow these procedures
and save yourself from an engine replacement, or having to do the loctite repair.
1) Cam cover gasket
2) Timing belt kit, including tensioner and idler pulleys (if
you need these pulleys and don't have them, you'll be waiting days to get them
in;ask me how I know) ~$85
[A tensioner or idler pulley should roll easily but have just a little drag,and
feel like it's lubed with butter. A pulley that rolls forever when you spin
it, makes noise, and has a little play when rocked on it's shaft is due for
replacement.]
3) Timing belt pulley, B3C7-11-321 $55 at the dealer
4) Pulley boss (accessory belt pulley hub, bolts into the pulley): B3C7-11-400 $86
5) key B3C7-11-317 $4
6) pulley bolt B3C7-11-406 $10
7) Crankshaft seal (if this is a higher mileage car, just assume it needs to be replaced). Ditto for the camshaft seals.
8) Rubber seal for the edge of the bottom timing belt cover . The oil leaking from the shaft seal makes this swell, and you may not be able to get it back in place.
1) Brakekleen, or something similar to use as a degreaser
2) Loctite quick metal 660 $7 for a .2 oz tube
3) Loctite 243 thread locker $12 for a .34 oz bottle
The Loctite products can be ordered from a local rep, or online from McMaster-Carr (mcmaster.com)
4) Rtv/silicon sealer for the cam cover gasket
1) Click-type torque wrench. There's not really room to swing a large beam-type torque wrench that doesn't have some kind of ratcheting action when doing the crankshaft bolt.
2) 21mm socket for the crank bolt. 1/2" drive. I'd suggest buying a big socket wrench at the same time, preferably with swivel head, or you can use the torque wrench to get the bolt off. [I suggest buying a socket wrench as the wheel nuts are 21mm, and a big wrench actually works to get them off, as opposed to the stock wheel wrench.]
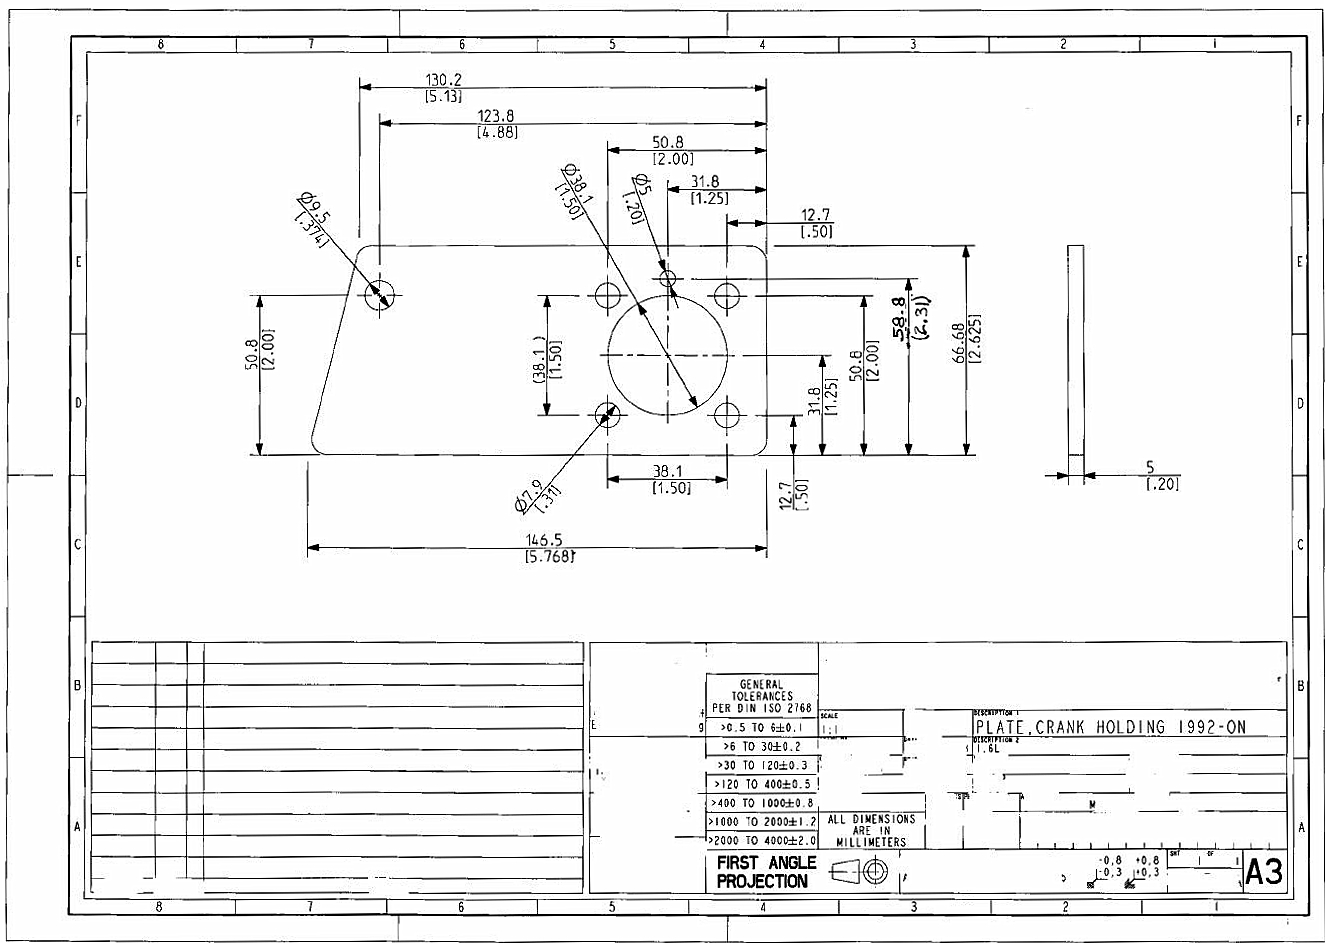
3) Tool to hold the pulley/hub in place while torquing the bolt, made from 3-4mm sheet metal. See below image. Click on image for larger version. Drawing provided by Larry Alster.
[Some people feel that you can get the torque without using the tool, but you end up dealing with "wind up" of the drivetrain until all slack is taken up. I wasn't comfortable with that for this kind of repair, so I got the tool. It works so well that I was glad I did.]
4) I used a tool called a "sneaky pete" to get the crankshaft seal off. Available at Autozone or Pepboys; it's a common tool. You can use the timing belt pulley to get the new seal started evenly, then the end of a 1/4 drive extension and a hammer to carefully get the seal fully installed.
5) Paint pen for marking the old belt before taking it off. Nail polish works in a pinch, as does White Out.
6) ZipLoc baggies and a sharpie pen. (not strictly tools, but very helpful)
7) Two adjustable wrenches and a c-clamp for holding the cam
pulleys. This really works well!
The procedure for changing the timing belt in the Miata.net Garage covers disassembly to the point of getting things off to the timing belt pulley pretty well. The procedure for doing the loctite repair also does a good job, but I'll add this note:
Treat the mating surface prep like you were painting. Loctite adheres to clean surfaces. It's not that effective with oily bolts or surfaces.
1) Put some oil in the bolt hole in the crankshaft, and run the new bolt in and out of the crank hole several times, wiping the threads off each time. This assures there isn't excessive corrosion or other junk in the threads preventing the bolt from being properly torqued. You should be able to run the bolt in and out, smoothly, by hand. If you can't, you need to get a tap and clean the threads.
When this is done, spray Brakecleen or some other degreaser in the hole to clean the oil from the threads. You need a good clean surface for the loctite to adhere.
2) Clean off the crankshaft nose and test fit the new pulley without the key. Make sure there are no sharp edges on the shaft that will prevent a good assembly. It's handy to have a Dremel or other rotary tool if you need to dress edges, but a small file will do.
3) Get some 60 grit sandpaper and rough up the surfaces on the face of the timing belt pulley and pulley boss where the two parts will mate, a palm sander is good for this. Degrease these faces as well. Don't install the accessory belt pulley boss into the big pulley. You need the screw holes for attaching the tool that holds the pulley from turning.
4) Fit the key into the new pulley and pulley boss to make sure you can see which way it goes. The fit is tight one way and loose if you turn it 1/4 turn. You don't want to goof this up when you install the key into the crank shaft.
5) Reclean the crankshaft nose, using an old toothbrush on the keyway. Test fit the key there as well.
6) I put the Loctite 660 in the groove, seated the key, and filled in the area in the nose where the keyway was worn out. Wipe off excess, or you'll be filing it off later. After you have installed the new key and let the liquid metal set, again test fit the pulley and pulley boss. You might need to clean the shaft a bit to get things to fit.
7) IMPORTANT! On the '92 and later cars, the main bolt holds on the timing belt pulley AND the pulley boss! The timing belt cannot be installed after the bolt is torqued. This means the timing belt needs to be installed (not tensioned, just in place around the timing belt pulley) when the bolt is torqued. It's easy to forget. The tool used to hold the timing belt pulley in place is also nice for holding that pulley while you're trying to get the belt on right.
9) Once the Loctite 660 has been given 24 hours to cure, it's time for final fitment. Assemble and torque the pulley bolt to 122 ft/lbs.
10) If you're replacing the accessory belts, the proper length for the powersteering-a/c flat belt pre-1994 is 955mm (see the garage section under maintenance). PepBoys or Autozone may not have the right length belt, and may try to give you a 940, which is for a 94 and later Miata.
| Back to the Garage |
3 January, 2007 |
| [Home] - [FAQ] - [Search] - [Sponsors] - [Forums] |
| [Garage] - [Clubs] - [Contact Us] - [Disclosures] - [More...] |
Copyright
©1994-2024, Eunos Communications LLC
|