
by Joe Geyer
Summary: This Miata rear window replacement tutorial is for Mazda Miata's from 1990 - 1997 that have the plastic rear window. I bought this 1990 Miata in 1998 and it had 28,000 miles on it. Over the years, the back plastic window has cracked and turned dark. Now the car is almost 20 years old with 104,000 miles on it. It drives wonderfully, but the rear window is not functional and it takes away from the aesthetics of the car. I searched for some cheap solutions for replacing the window on the web and found a few. The tutorial I ended up following is one posted by Jimmy Pribble. He did a variation of the tutorial posted by Mike Davis on miata.net. My tutorial differs in the following minor ways from Jimmy Pribble's version: Duraplex window instead of Lexan, Goop Marine Adhesive instead of Anchor-Tite, and no black tape transition from window to convertible top. I think the most important contribution of my tutorial is allowing you to see the window replacement with no black tape transition.
Date: September 14, 2009
Comments: Special thanks to my father-in-law. His engineering acumen and attention to detail was extremely valuable. Please feel free to leave a comment on the Visitor Comments page.
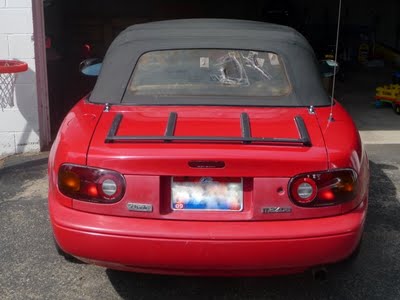
Before:
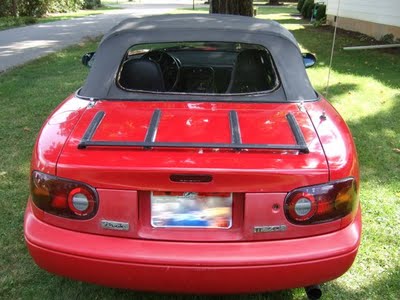
After:
Summary: These 7 steps are the basic stages of replacing the plastic rear window in a 1990 - 1997 Mazda Miata. (Mine is a 1990).
Time: 4 hours
Comments: I was fortunate to have my father in law helping me with this project. There are many steps where a second person is helpful, but I don't think a second person is absolutely necessary. Please read and think through these steps before doing the project. Your situation may be slightly different than mine at certain points, requiring a change in strategy. Please feel free to leave a comment on the Visitor Comments page.
Next fit the piece on the ledge in the Miata. You will notice that the corners hit against the back ledge and don't allow the plywood to push all the way back. Cut 45 degree angles off of the corners to make a better fit.
The side with the 45 degree angles cut out pushes to the back of the Miata.
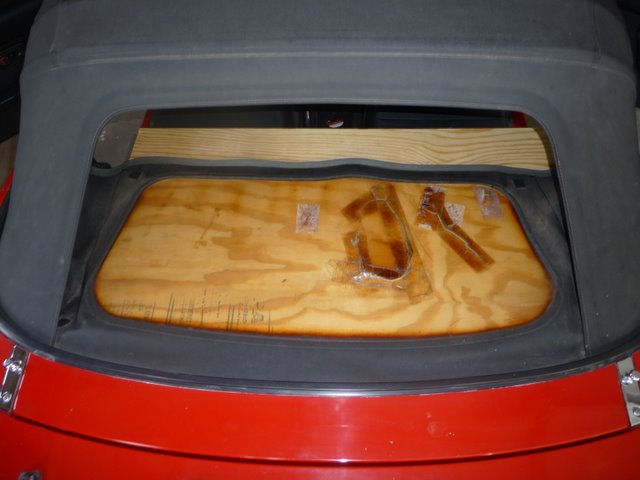
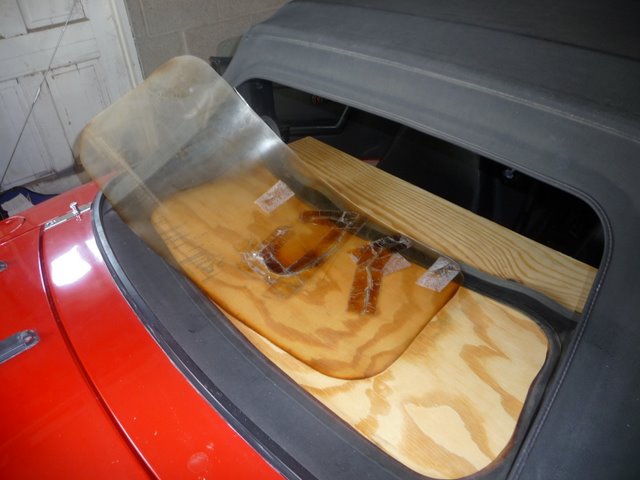
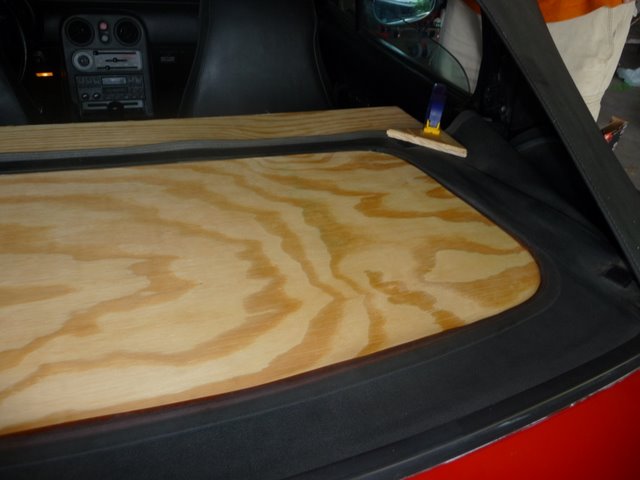
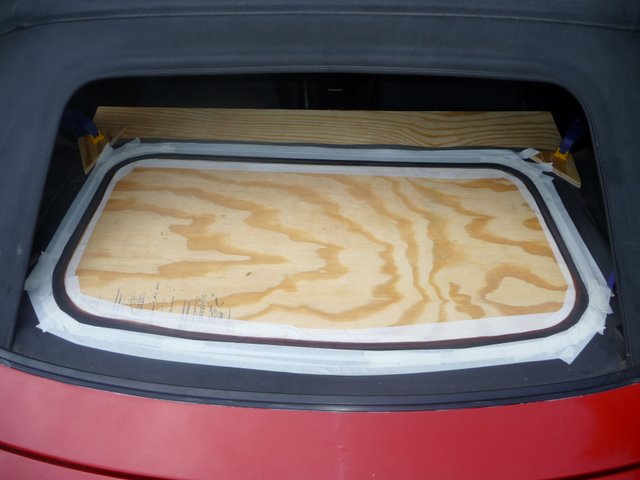
Now use something like wood blocks or boxes to raise the plywood up so that the old window can rest on it laying flat. You can see the wood blocks underneath the plywood in the picture below. Also notice the 45 degree cutouts.
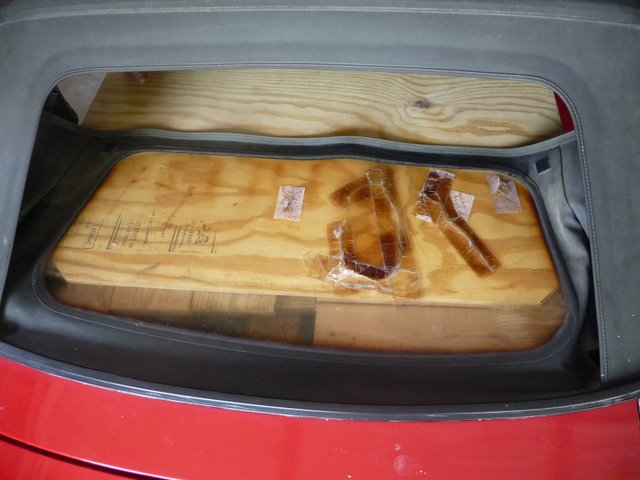
The next picture shows the plywood completely in place with the window laying on top.
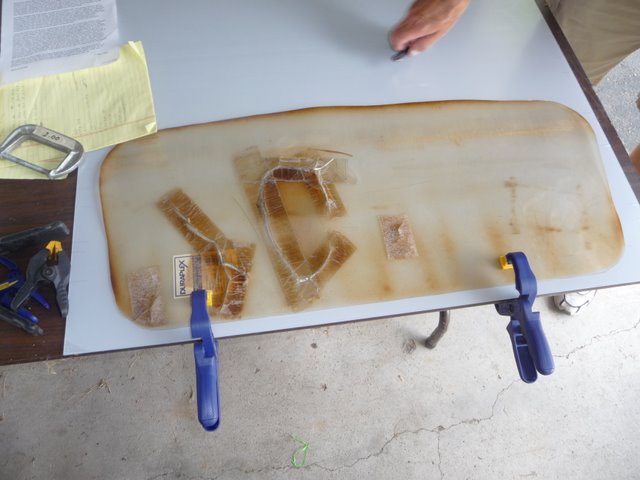
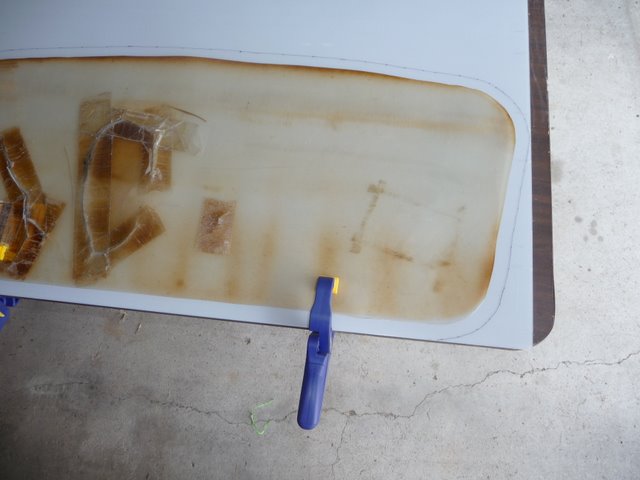
Use a Sharpie to mark a perimeter around the old window with 3/4 inch extra. Depending on how you cut the old window out, you may want to adjust the 3/4 inch overhang. A compass might work well for this step, although we just used a ruler.
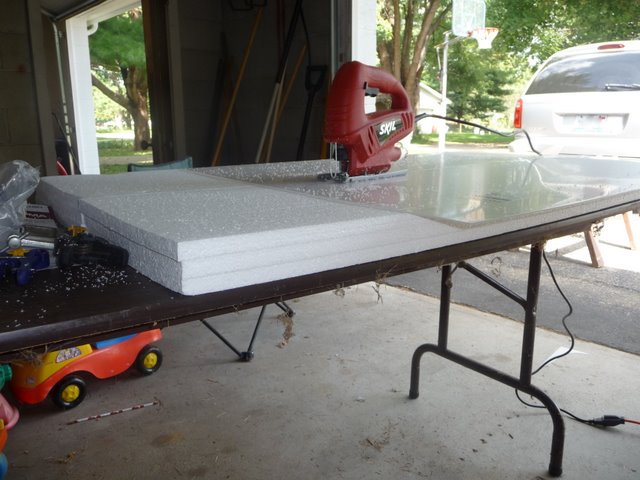
Place the Styrofoam on a flat surface and the Duraplex on top of the Styrofoam. Using a jigsaw with a blade with 10 teeth per inch, cut out the window from the Duraplex. The point of the Styrofoam is that the Duraplex can firmly rest on it while the jigsaw blade cuts both the Duraplex and the Styrofoam. I learned this technique from watching a youtube video produced by TAP plastics.
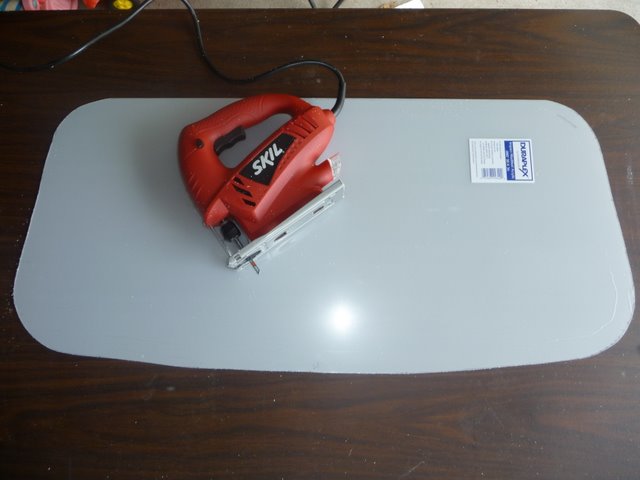
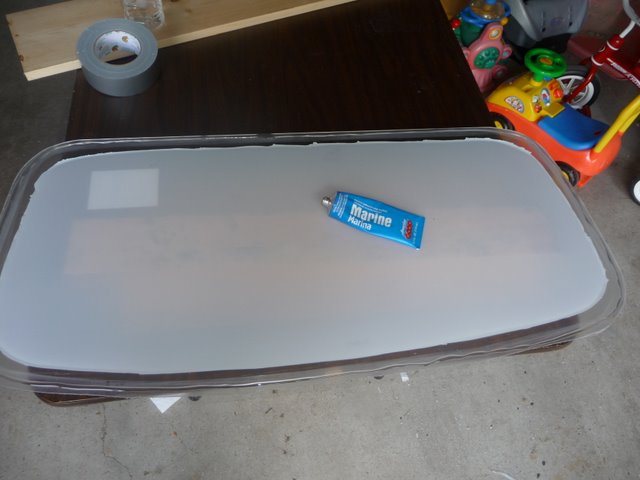
Here is the new window.

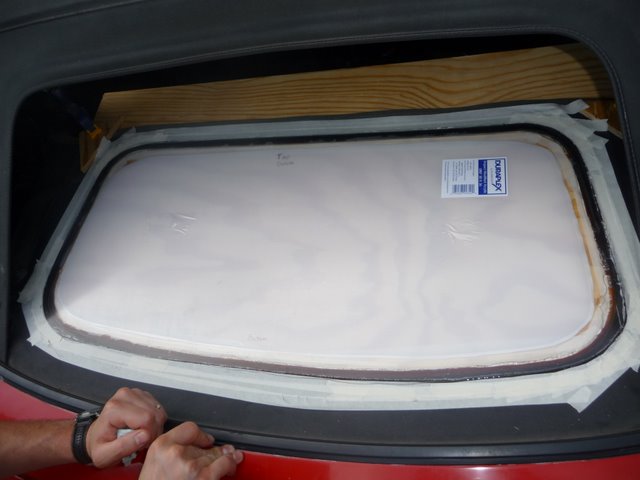
Lay the new window in place (no adhesive yet). Use masking tape to mask around the window. The more and better you mask, the less glue will make a mess on your convertible top.

Use masking tape to also mask the plywood underneath. If the adhesive bonds to that, it could be very difficult to get it off.
Practice setting the window in place. Use duct tape to old the new window. I found it useful to plant my elbows on the back of my car and lower the new window into place with the bottom edge touching first. It is extremely helpful to have someone else available as a guide because you won't be able to see everything. Note that the picture below is just a practice run.
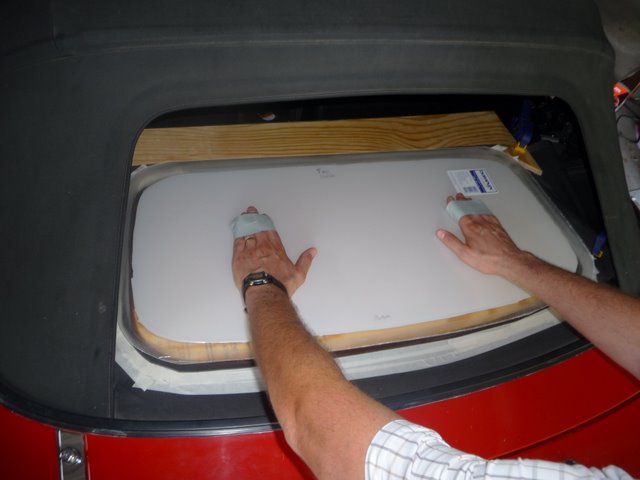
Lay the new window in place. Remember to practice first, and have someone help. Press down firmly on the bead of glue to get a strong adhesive and a good seal.
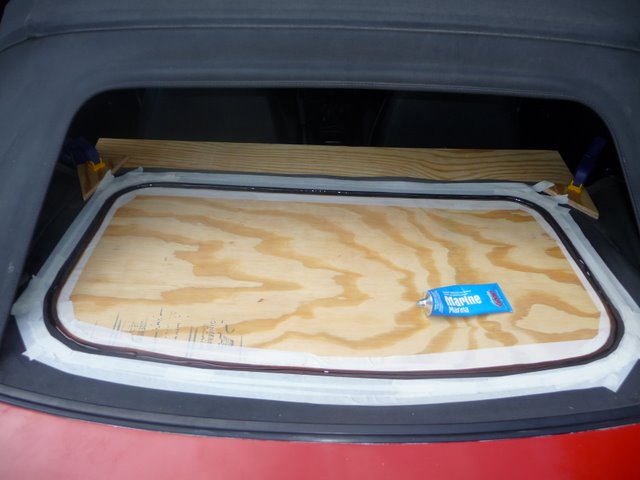
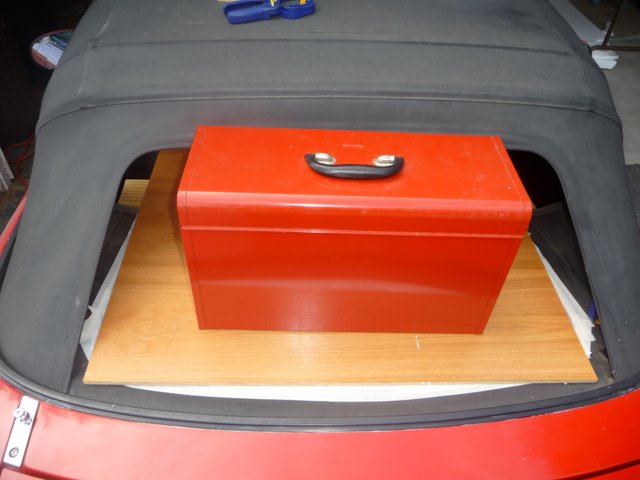
The Goop Marine Adhesive takes 24 hours to cure. I used a piece of plywood and something heavy (my toolbox) to apply pressure for the 24 hours.
| Back to the Garage |
8 October, 2008 |
| [Home] - [FAQ] - [Search] - [Sponsors] - [Forums] |
| [Garage] - [Clubs] - [Contact Us] - [Disclosures] - [More...] |
Copyright
©1994-2024, Eunos Communications LLC
|