Here's the problem. I pulled out the sunvisors the same day I bought the car. What do you do with the holes? Now Knobmeister
and Leni Metro make some nice plugs, but dlmr in the forum suggested LIGHTS! Now I hear KG Works has a kit. I did it for less than 3 bucks! UPDATE: Nate Ramsey has a very similar install with white lights in the miata.net garage...check it out too! |
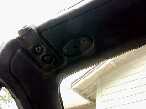
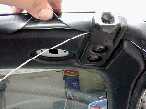
Unscrew the mount. Notice it's hollow in there and if you take out the two torx bolts holding the top bracket you can actually run the wire INSIDE the A-pillar. I took a different route. |
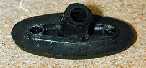
Here is the mount. It is not quite big enough for the lights, but we'll fix that soon. |
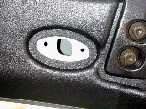
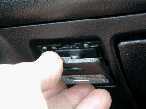
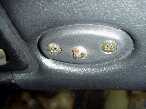
Here's where I tapped for the switch and power. I assume you have this too, or
you'd already have a later model miata with a "dome"
light and not need this mod! |
Pry gently from the top to remove the plate. |
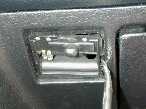
Pry gently from the side to remove the housing. |
We'll be back here in a moment, but for now take a gander.... |
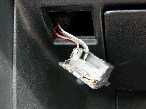
I pushed safety wire through here to feed the power wire through. Note you need TWO strands because the lighting system uses a negative ground switch. You can't run just a hot lead. |
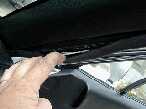
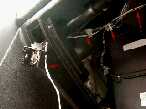
Instead of going inside the pillar (seemed like ASKING for a rattle to me) I went under this nice soft weatherstripping....PLENTY of room! I pulled the wire through and down the pillar. |
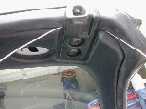
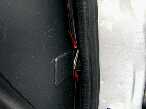
SORRY about this shot...just lean your head to the right slightly. See the wires going down inside? See all the goo that holds it? |
Here's where I crossed over from under the weatherstripping to behind the glove box. Only two screws hold the whole box in. Take it out! |
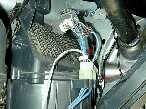
I wiretied it to some existing wires....I HATE rattles. |
Then across up and over and out the dash light hole. |
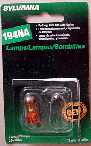
These bulbs cost a whopping buck ninety-nine! You can get white, but the amber is VERY nice in the cockpit. |

25/64ths. hehe. That's what I used! You can probably get by with 13/32nds, but any bigger and you won't have a friction fit with the bulbs . . . they'll fall out of the holes. |
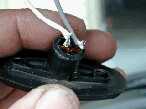
Nice shot huh? Pry the lead straight out so you can solder to it. |
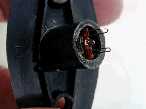
Press it into the fixture. I left a tiny bit of bulb exposed, but you can recess them if the hole is a bit bigger. |
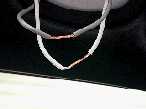
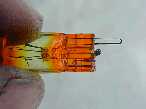
Ok, back to the header. I left loops on the pax side and stripped them using a single edged razor. BE CAREFUL! Then I wrapped each section around a bulb lead and soldered. Taped it off. |
Here's the driver's side. I suppose I should mention that you must thread the wires *out the hole* before you solder the wires! |
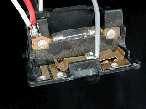
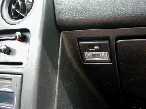
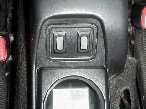
To power the lights put one lead UNDER the screw on the slider. The other you solder onto the red (+12V) lead seen at the top left of this photo. If you do it this way, they'll work WITH the normal lights. I.e., you can have them come on with the doors or switch them on using the manual switch on this light. |

Hey look! They light up! |
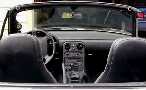
Even in the daytime you can see them! |
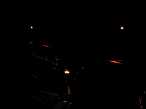
I didn't get the tripod, so this is the best I could do freehand. The really are MUCH brighter than this photo shows and the color is great! |
UPDATE: My lights are good enough for maps and look cool, but if
you want LIGHT, click on the pic above! |
UPDATE (continued) |
